
Sixteen years of running a label factory in Dongguan, and food and drink is still the category that keeps us honest. The label that fails on a customer’s line is almost never a printing problem — it is a face stock, an adhesive and a storage condition that were never matched to each other. The same label holds fine on a water bottle and lifts at the corner of a juice bottle in three days. It survives the jam jar and then falls off in the chiller within a week. Below are the six failure scenes we get called about most, what actually causes each one, and the construction that fixes it.
Who this is for. Brand owners, packaging buyers and food or drink producers who need to brief a label manufacturer and get the material right the first time. If you already know your fill temperature and your storage conditions, jump to the spec table.
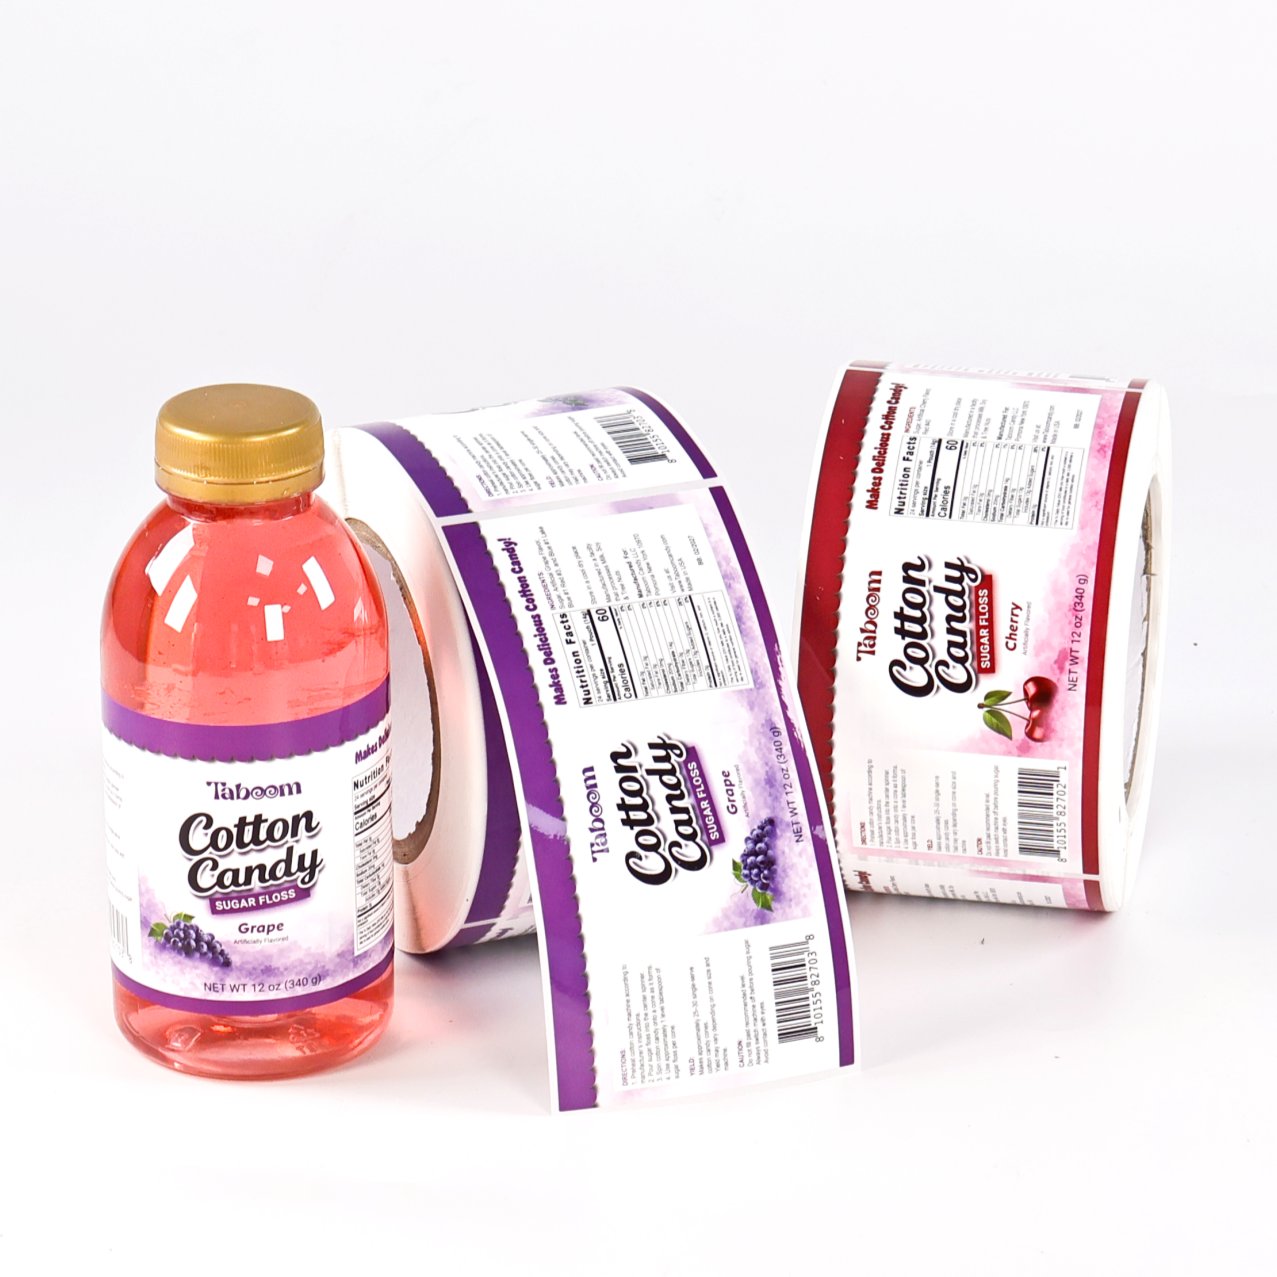
1. Condensation in the chiller — blistering and lifted edges
The scene. Yogurt cups, fresh milk bottles, cold-pressed juice. Filled, chilled to 4°C, then warmed up again every time a crate moves from the warehouse to the truck to the shop floor.
Why it fails. A coated paper face stock takes on moisture and grows across the sheet, then shrinks back as it dries. A few cycles of that and the label blisters. At the same time a general-purpose acrylic adhesive loses a large part of its initial tack at low temperature, so the edges lift first.
What fixes it.
- Move the face stock from paper to BOPP or PET film. Film does not absorb water and does not change dimension.
- Specify a chill-grade adhesive — rated to apply at 0°C, or even -5°C. General-purpose adhesive usually needs 10°C or warmer.
- Label a dry bottle, with no condensation on the surface. This matters more than the material swap, and it is the step people skip. We have re-run “the new material didn’t fix it” cases that turned out to be a labelling room with the humidity of a monsoon.
- Give the adhesive 24 hours to flow out and reach working tack, and 72 hours to fully cure. Testing adhesion two hours after labelling tells you nothing.
2. Frozen food — the label lets go the moment it warms up
The scene. Dumplings, frozen fruit and ice cream tubs held at -18°C and colder.
Why it fails. A standard adhesive goes hard and brittle at -18°C and loses its flexibility. When the pack comes out and warms up, condensation forms instantly on the surface and the water film lifts the already-brittle adhesive away. This is the “it was fine in the freezer, it fell off as soon as I took it out” complaint.
What fixes it.
- Face stock: PE or PP synthetic paper, or BOPP — flexible at low temperature instead of turning brittle the way paper does.
- Adhesive: a freezer-grade type, rated down to -40°C and with low-temperature initial tack, because the bottle you are labelling may itself be frozen.
- If the label has to wrap a curve, keep the caliper down. Thick stocks fight the curve and spring back, especially in the cold.
- Test it cold. Label it, hold it at -18°C for 24 hours, bring it back to room temperature, then inspect the edges. A room-temperature peel test does not count.
3. Hot fill — jam, sauce and juice at 85°C
The scene. Jam, tomato sauce, chilli sauce, hot-filled juice. Fill temperature is usually 80–95°C, after which the pack cools and pulls a vacuum. The outside of the bottle takes a heat hit as well.
Why it fails. Label first and hot-fill afterwards, and the heat softens the adhesive until it creeps while the face stock shrinks and wrinkles. Hot-fill first and label immediately after, and the residual heat and moisture on the glass stop the adhesive from wetting out properly.
What fixes it.
- Label after filling and after cooling. This one is not negotiable. We have never seen a stable label-first hot-fill process.
- Face stock: heat-resistant PET or synthetic paper, short-term rated above 120°C. BOPP starts to shrink noticeably above 80°C, so it is the wrong choice here.
- Adhesive: a high-temperature type that will not creep while the pack cools down.
- Keep the labelling zone dry, and add a blow-off or wipe step if the line needs one.
A real one. A chilli sauce customer of ours was running a coated paper label and losing whole batches to wrinkling and yellowing on the hot-fill line. We moved them to a PET face stock with a high-temperature adhesive and shifted labelling to after the cooling tunnel. It stopped in one run.
4. Oil bottles and salad dressing — grease migration
The scene. Cooking oil, salad dressing, chilli oil. The outside of the bottle usually carries a film of oil, especially on the return drip.
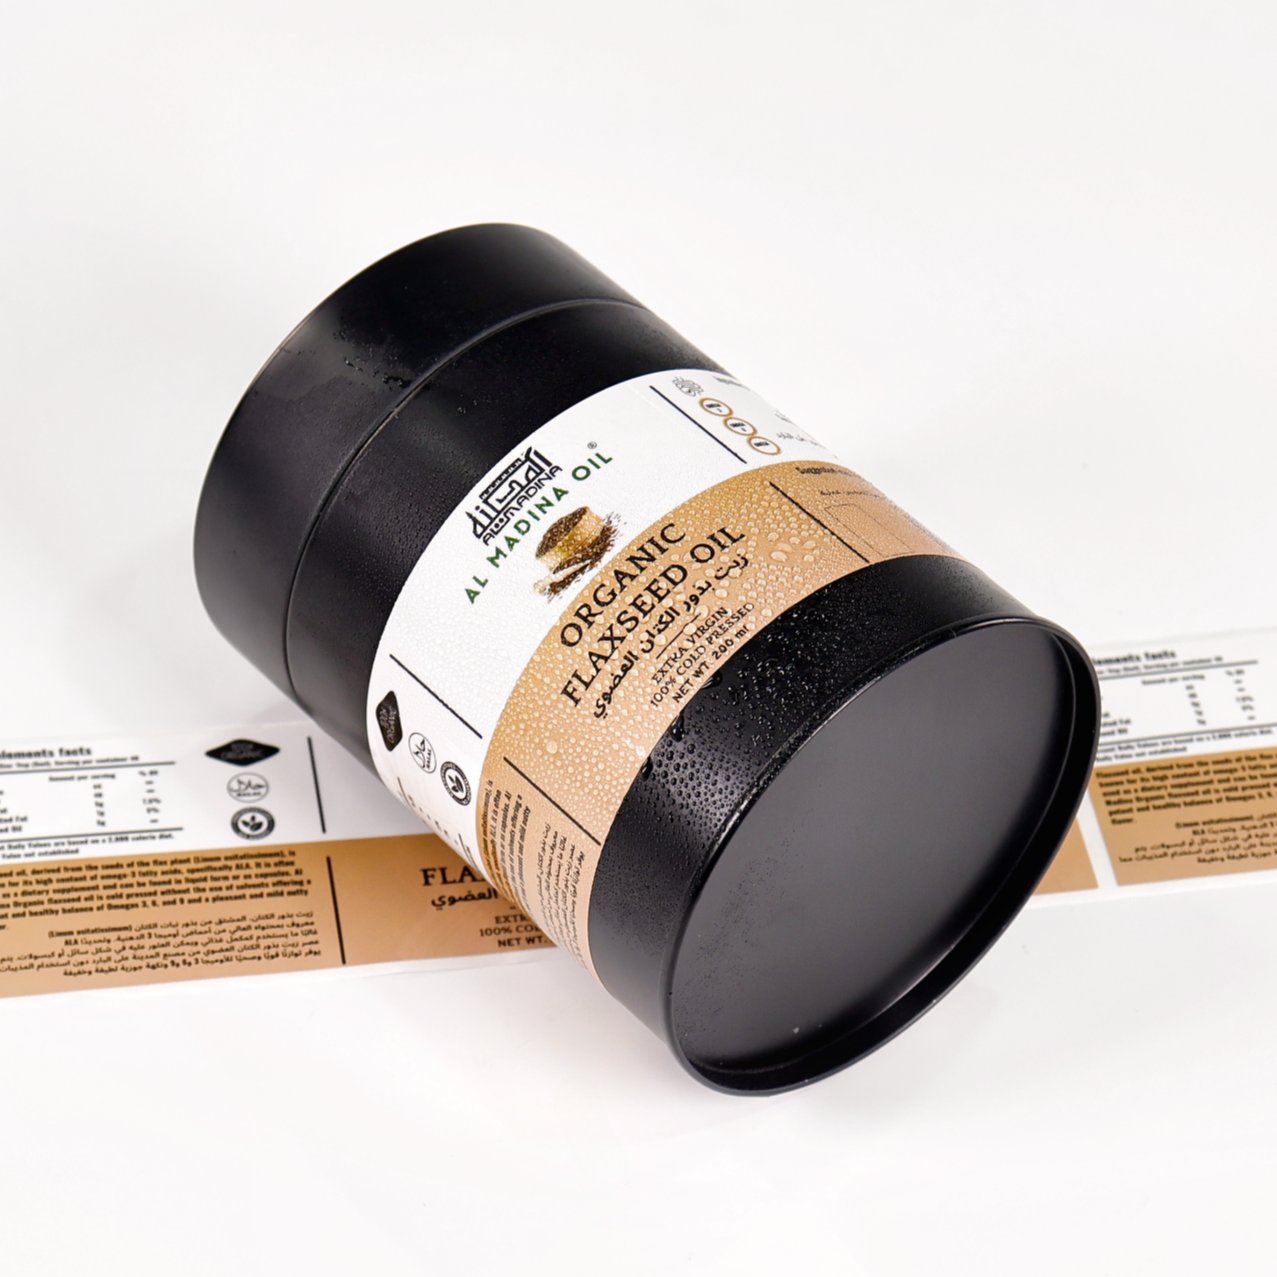
Why it fails. Oil migrates into the face stock. BOPP softens, the print loses adhesion, and in bad cases the whole printed layer wipes off on the shelf. The oil film also stops the adhesive bonding in the first place.
What fixes it.
- Face stock: PET, which resists grease migration far better than BOPP.
- Close the surface with lamination or varnish so the oil is not sitting directly on the ink.
- Adhesive: a high-tack type, with the coat weight pushed up a little.
- Degrease the bottle before labelling. An alcohol wipe or a plasma treatment both work.
- Tell us at enquiry stage that the bottle will be oily. We need that before quoting, because it changes the adhesive. Discovered after the fact, the only fix is reprinting the batch.
5. Coffee bags and tea tins — valves, light and constant handling
The scene. Coffee bean bags with a one-way degassing valve, loose-leaf tea tins, drip-coffee boxes.
Why it fails. Flexible bags get squeezed and knocked around in transit, and the label edge lifts first. A label sitting over the degassing valve blocks it and the bag balloons. Tea tins need light protection, and a standard clear film does not provide it.
What fixes it.
- Coffee bags: PE or synthetic paper with a high-tack adhesive, so the label deforms with the bag instead of being peeled off it.
- Keep the label at least 10 mm clear of the degassing valve. Covering it is the most common mistake we see on coffee work.
- Tea tins: foil or opaque film for light protection, with a matte laminate to stop fingerprints showing.
- Foil stamping and spot UV are fine for a premium look, but never place them on a fold line. Repeated folding cracks the foil.
6. Curved and large-format packs — bulk water, drums and spirits bottles
The scene. 5-gallon (18.9L) water bottles, large cooking-oil drums, and spirits bottles shipping by the container. Anything that gets palletised, stacked and sent across an ocean.
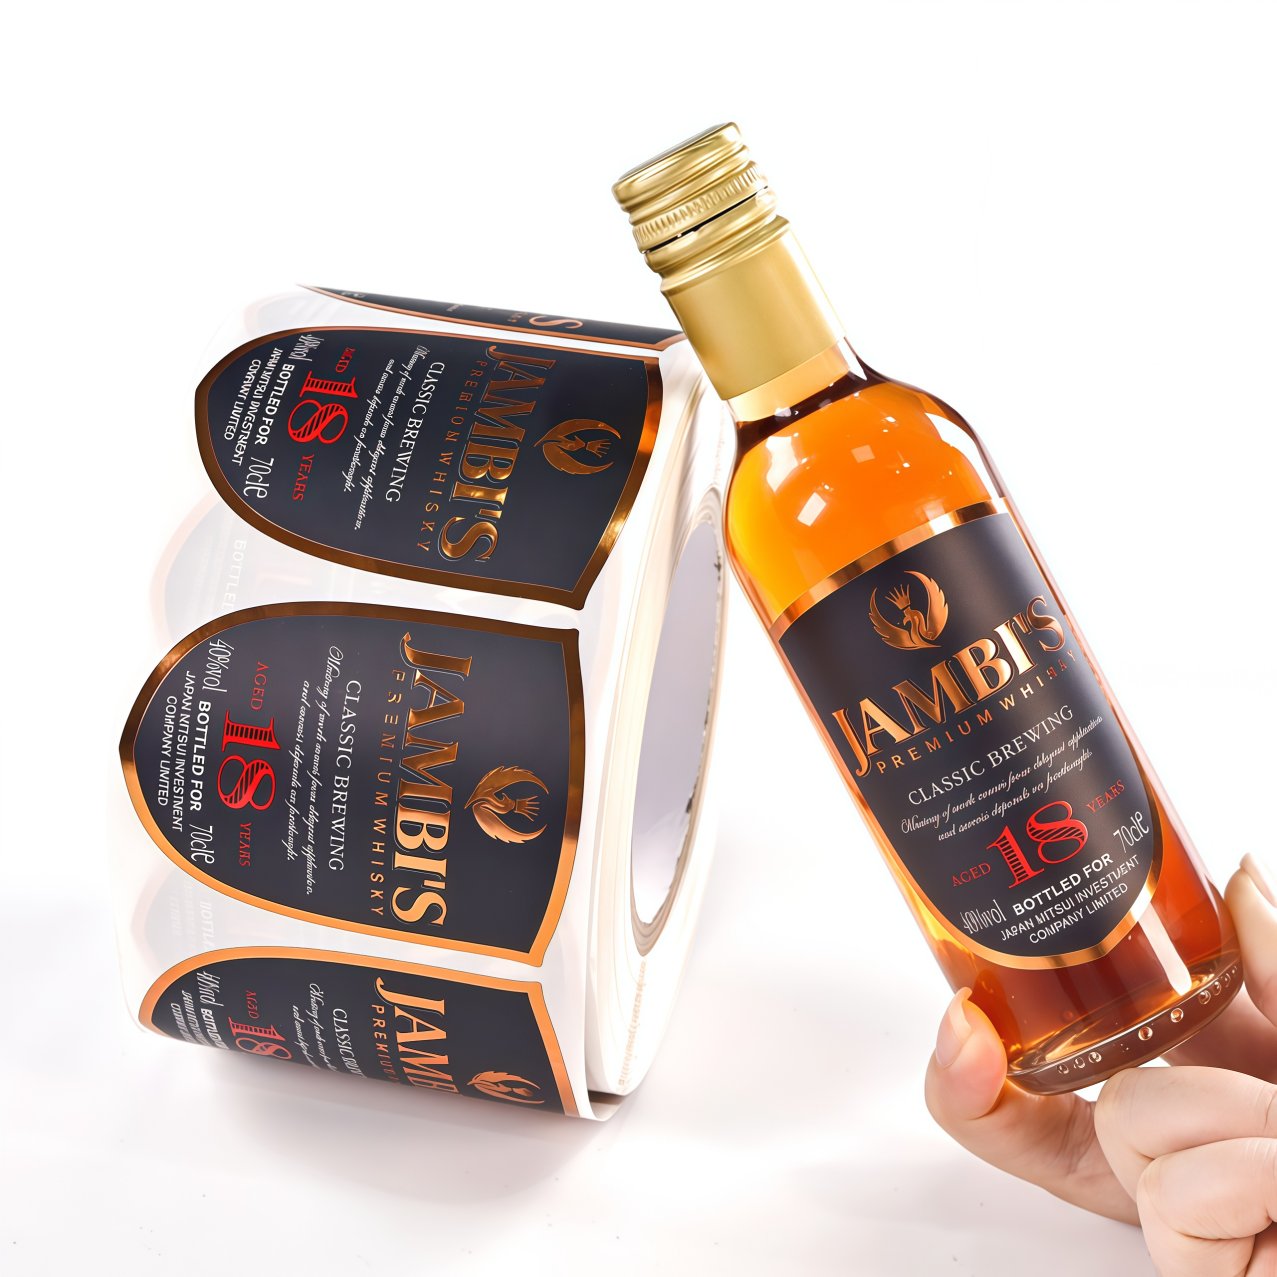
Why it fails. A large label on a curved surface wrinkles and will not lie flat at the edges. Stacking and transport scuff the print. A sea container is hot and humid, and the label edge lifts once it takes on moisture.
What fixes it.
- Large formats: thin-gauge BOPP, flexible enough to follow a curve and still lie flat, with a high-tack adhesive.
- Laminate the surface, gloss or matte. For anything going by sea this is a requirement, not an option — unlaminated print does not survive container humidity and pallet friction.
- Confirm winding direction and label exit direction at order stage. Automatic applicators are unforgiving about direction, and a wrong roll is a wasted roll.
- Run a small physical application test before committing to volume on any new curved container.
7. Compliance — not every “food grade” label can touch food
This is the question we get asked most, and the one that causes the most expensive mistakes.
- Indirect contact — the label sits on the outside of the packaging and never touches the food. Adhesives are covered by FDA 21 CFR 175.105 and paper face stocks by 21 CFR 176.170. In the EU the equivalents are Framework Regulation (EC) 1935/2004 and EU 10/2011 for plastics.
- Direct contact — for example a label applied straight onto fruit. It needs a food-contact adhesive, and usually has to be removable leaving no residue. We have to build this separately; a standard job cannot simply be re-specified into it.
- GHS — if the bottle holds a chemical such as detergent, sanitiser or cleaning fluid, the label falls under GHS. That means pictograms, a signal word and precautionary statements, with hard requirements on size and on durability, including whether the print can be rubbed off. This is a completely different rulebook from a food label.
Tell us four things at enquiry. Storage temperature (ambient / chilled / frozen), whether it goes through a dishwasher or microwave, whether the bottle will carry oil, and whether it is applied by hand or by an automatic applicator. Those four answers decide the face stock and the adhesive. Without them we can only quote a guess.
Specs at a glance
| Scene | Face stock | Adhesive | Key parameter |
|---|---|---|---|
| Chilled (4°C) | BOPP or PET film | Chill-grade | Applies at 0°C; 24h dwell |
| Frozen (-18°C) | PE / PP synthetic paper, BOPP | Freezer-grade | Rated to -40°C; test cold |
| Hot fill (80–95°C) | PET or synthetic paper | High-temperature | Stock rated 120°C+; label after cooling |
| Oil and dressing bottles | PET | High-tack | Laminate seal; degrease first |
| Coffee bags | PE or synthetic paper | High-tack | 10 mm clear of the valve |
| Bulk water, drums, spirits | Thin-gauge BOPP | High-tack | Laminate; confirm roll direction |
Common questions
Can I use a paper label in the fridge?
Yes, for short-term storage in a genuinely dry chiller. But the moment condensation appears — and on a chilled drinks shelf it will — paper face stocks start blistering. If the product goes into a chiller at all, go straight to film.
How do I test whether a frozen label is good enough?
Label it, hold it at -18°C for 24 hours, bring it back to room temperature, then inspect the edges and the overall bond. A room-temperature peel test does not predict freezer performance at all.
Can we label first and hot-fill afterwards?
We advise against it. The heat softens the adhesive and shrinks the face stock, and we have never seen a stable process built that way. Label after the cooling tunnel.
Why does an oil bottle have to move to PET?
Because BOPP softens when grease migrates into it, and the print loses adhesion. PET resists that migration far better, and with a laminate on top the print is protected as well.
Can a label cover the degassing valve on a coffee bag?
No. Leave at least 10 mm between the label edge and the valve. Cover it and the bag cannot vent, which means it balloons and in the worst case splits.
What do you need to know for automatic application?
The applicator model, the label exit direction, the winding (left-hand or right-hand) and the core diameter. Get any one of those wrong and the whole roll is unusable. Send the machine details with your enquiry and we will match the wind.
Does a dishwasher-safe label cost more?
It costs more than a standard construction — both the adhesive and the laminate change. Whether you need it depends entirely on the product. Tell us the use case and we will tell you honestly whether you can drop back to a cheaper build.