
Application Removable Patterned Adhesive (网格底) Bubble Relief
Mesh backing — more precisely, a grid- or dot-patterned adhesive (网格底 / 图案化涂胶) — is a label construction where the glue is printed onto the backing in a repeating pattern instead of one continuous film. Its primary engineered purpose is controlled tack and clean removal. A verified secondary benefit, and the reason it keeps showing up in bubble-avoidance discussions, is that the gaps between the adhesive lines double as air channels: during hand application the trapped air has a path to the edge, so the label lies flatter with less technique. This article explains both — what mesh backing is actually for, where it genuinely helps, and where a full-coat adhesive is still the better call.
1. What “mesh backing” actually means
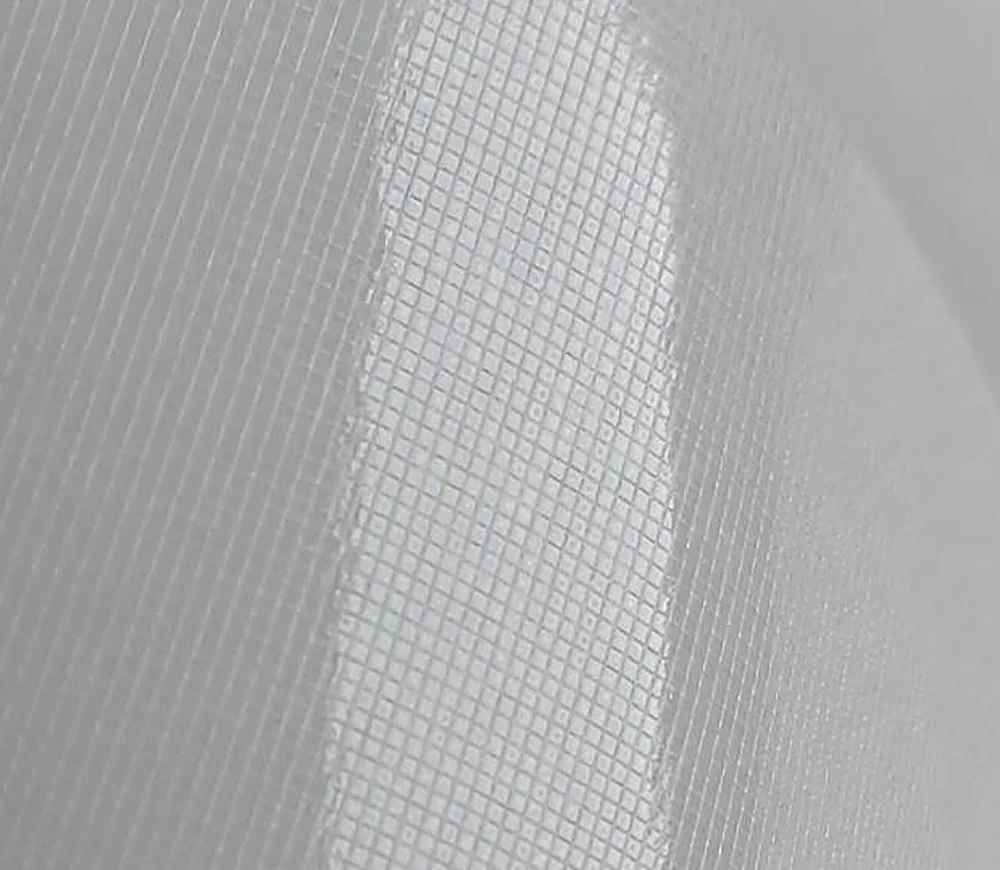
A standard label uses a full-coat adhesive: glue across 100% of the back. A mesh- or grid-patterned label applies the same adhesive in lines, dots or a grid, leaving open channels between them. Coverage for a grid pattern typically lands around 50–60% (dots a little lower). The face stock — paper, PP, PE or PET — and the liner are unchanged; only the adhesive layout differs. So “mesh backing” is a converting choice, not a different material, and it can be added to most label types.
2. The primary job — controlled tack and clean removal
Less adhesive area means lower peel force, which means the label comes off more easily and leaves less residue. That is the reason patterned adhesive is the standard choice for removable price tags, protective films, temporary marking, and anything that must come off cleanly without damaging the surface or the product underneath.
Honest trade-off: because there is simply less glue, peak adhesion is lower than a full-coat adhesive — commonly cited in the range of 40–60% lower at an equivalent adhesive. Mesh backing is therefore not the right call for maximum-hold needs: long-term outdoor exposure, high-heat environments, heavy or rigid substrates, or anything where the label must never let go. Match the pattern coverage to the job — and confirm on an actual sample for your specific surface.
3. The verified bonus — air channels reduce bubbles
With a continuous film, the instant the glue touches the surface it seals; any air ahead of your finger is trapped as a dome. With a grid pattern, the open gaps are continuous channels. Press the label down by hand and the air flows sideways into those channels and out at the edges instead of being sealed in.
The result is a far more forgiving hand application — fewer bubbles, less dependence on squeegee technique. It is worth stating precisely: the channels reduce and help, they do not make bubbles physically impossible. On a dusty, oily or sharply curved surface, or with a careless press, you can still trap air. The channels give you margin; they are not a substitute for a clean, dry surface and a steady hand.
4. Machine vs hand — where mesh backing actually earns its keep
An automatic applicator lays the label with controlled pressure and a consistent angle, sweeping air out ahead of the contact line. If the process is set up correctly, standard materials go down bubble-free regardless of the adhesive — so mesh backing does little there.
Mesh backing’s real value is in hand, on-site and low-volume application, where operator skill varies and there is no squeegee. That is exactly where bubbles appear. The honest framing is therefore: mesh backing is not “the bubble-free solution” in general — it is a more forgiving construction for hand application, and a clean-removal construction by design.
5. Mesh backing or full-coat? (quick guide)
| Scenario | Mesh / grid backing | Full-coat adhesive |
|---|---|---|
| Removable price / temporary tag | Preferred — clean removal, low residue | Overkill, hard to remove |
| Protective film / easy-peel layer | Preferred — controlled tack | Too aggressive |
| Maximum hold, outdoor, high-heat | Not suitable — lower peak adhesion | Preferred — strongest bond |
| Hand-applied, bubble-sensitive | Preferred — forgiving channels | OK with good technique |
| High-speed automatic line | Optional | Preferred — cheaper, max bond |
| Small curved / squeezable bottle | Helps air, but conformability is about stiffness (see edge-lifting guide) | Same conformability limit |

6. How to apply a mesh backing label by hand
- Clean and dry the surface. No oil, dust or condensation — this matters more than the adhesive pattern.
- Peel the liner and align one leading edge where the label should sit.
- Lay the leading edge, then press and sweep from that edge toward the far edge with a card, squeegee or your thumb. Air exits through the channels as you go.
- Burnish once, edge to edge. The channels should leave nothing to chase.
7. Common questions
Do mesh backing labels hold as well as normal labels?
For their intended removable or light-duty use, yes. Peak hold is lower than a full-coat adhesive (less glue area), so don’t spec them for maximum-hold jobs — but for a label that needs to come off cleanly, they hold perfectly well through normal handling and shelf life. Tell us your application and we will confirm the hold on a sample.
Will the grid show through or affect the print?
No. The pattern is on the adhesive side, hidden once applied. Print sits on the face stock exactly as it would on a standard label.
Can I get mesh backing on any material?
It works on both paper and film face stocks — paper, PP, PE, PET. The pattern is a converting step applied to the adhesive, so give us your substrate and application method and we will spec the right combination.
Is this the same as air-release wrap vinyl?
Related but a different family. Large-format wrap vinyl uses embossed micro-channels so installers can slide and fix big graphics; mesh / grid label adhesive is a converting pattern aimed at controlled tack plus bubble relief on product labels. Same principle — air-egress channels — scaled to label size.