A dome sticker is exactly what it sounds like — you print a design on paper or film, then pour a layer of clear resin on top so it cures into a raised, glassy half-dome. Pick one up and your thumb notices before your eyes do. We’ve been making these in Dongguan for years, mostly for creative and promotional use, and there’s a handful of things buyers get wrong right out of the gate. Here’s what actually matters.
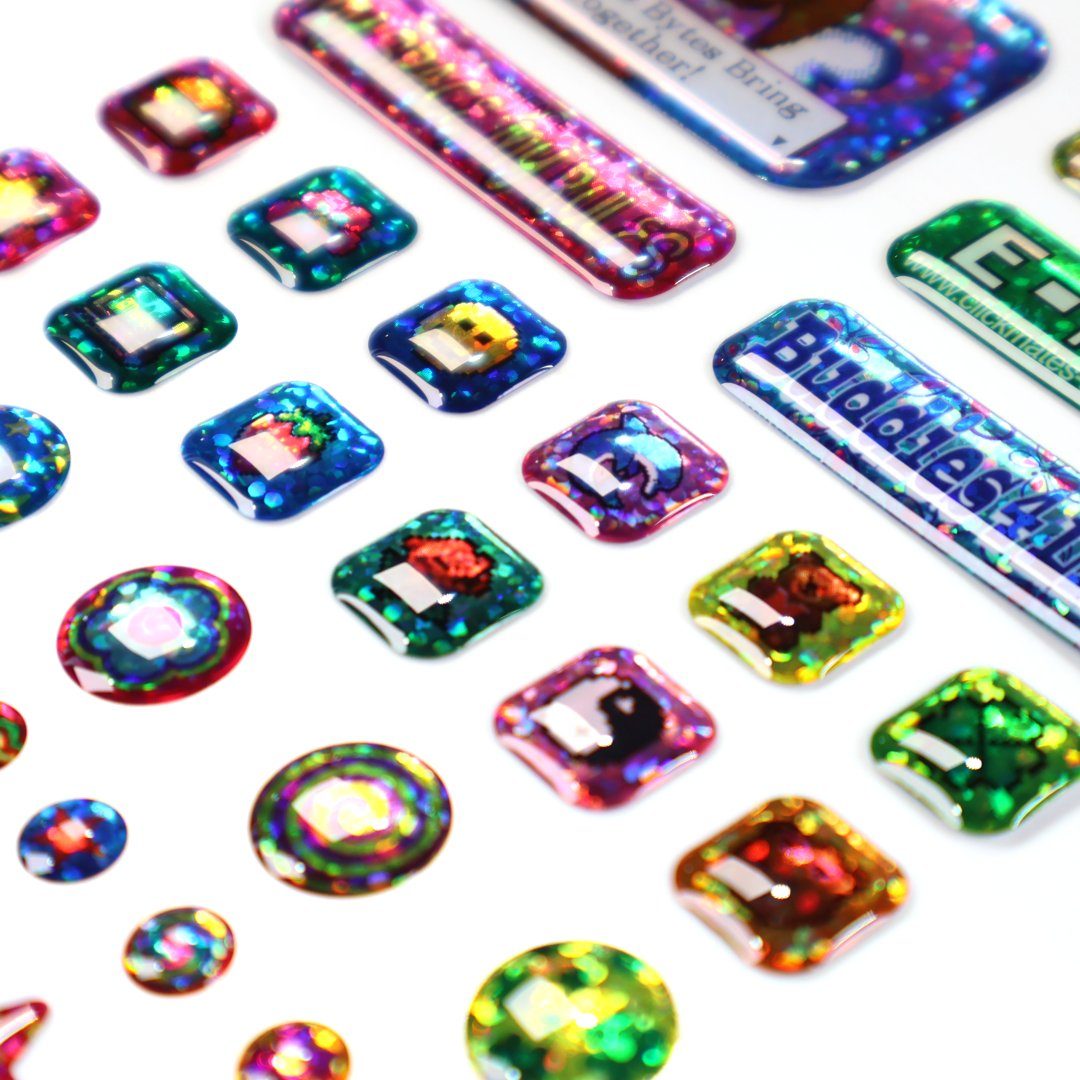
Two types of resin: hard dome vs soft dome
This is the first thing to pin down because it changes everything about how the sticker behaves.
Hard dome (epoxy or rigid PU)
The resin cures rock-solid. You press it and it doesn’t budge. Dome height usually sits around 0.8–1.5 mm. Good for flat surfaces — laptop lids, equipment badges, product branding where you want something that feels like a solid piece of glass sitting on top of the print. The downside: on curved surfaces (bottles, tubes) a hard dome can crack or lift at the edges if the radius is tight. UV stability depends on the resin — cheap epoxy yellows in sunlight; we use PU-based hard resin that stays clear for 2–3 years outdoors.
Soft dome (flexible PU)
The resin stays slightly pliable after curing. You can bend it and the dome deforms instead of cracking. This is the one most people picture when they think of “dome stickers” — the squishy, jelly-like caps on phone decorations, kids’ craft supplies, and novelty items. Thickness runs 1–2 mm typically. Much more forgiving on curved substrates, but the surface scratches easier than hard dome and collects dust faster because the tacky feel attracts particles. Costs about the same per piece to produce; the material choice drives the price difference, not the process.
In practice, about 70% of the dome orders we run are soft dome because that’s where the volume lives — promotional giveaways, stationery accessories, craft kits. Hard dome skews toward corporate branding and industrial nameplates where durability matters more than squish factor.
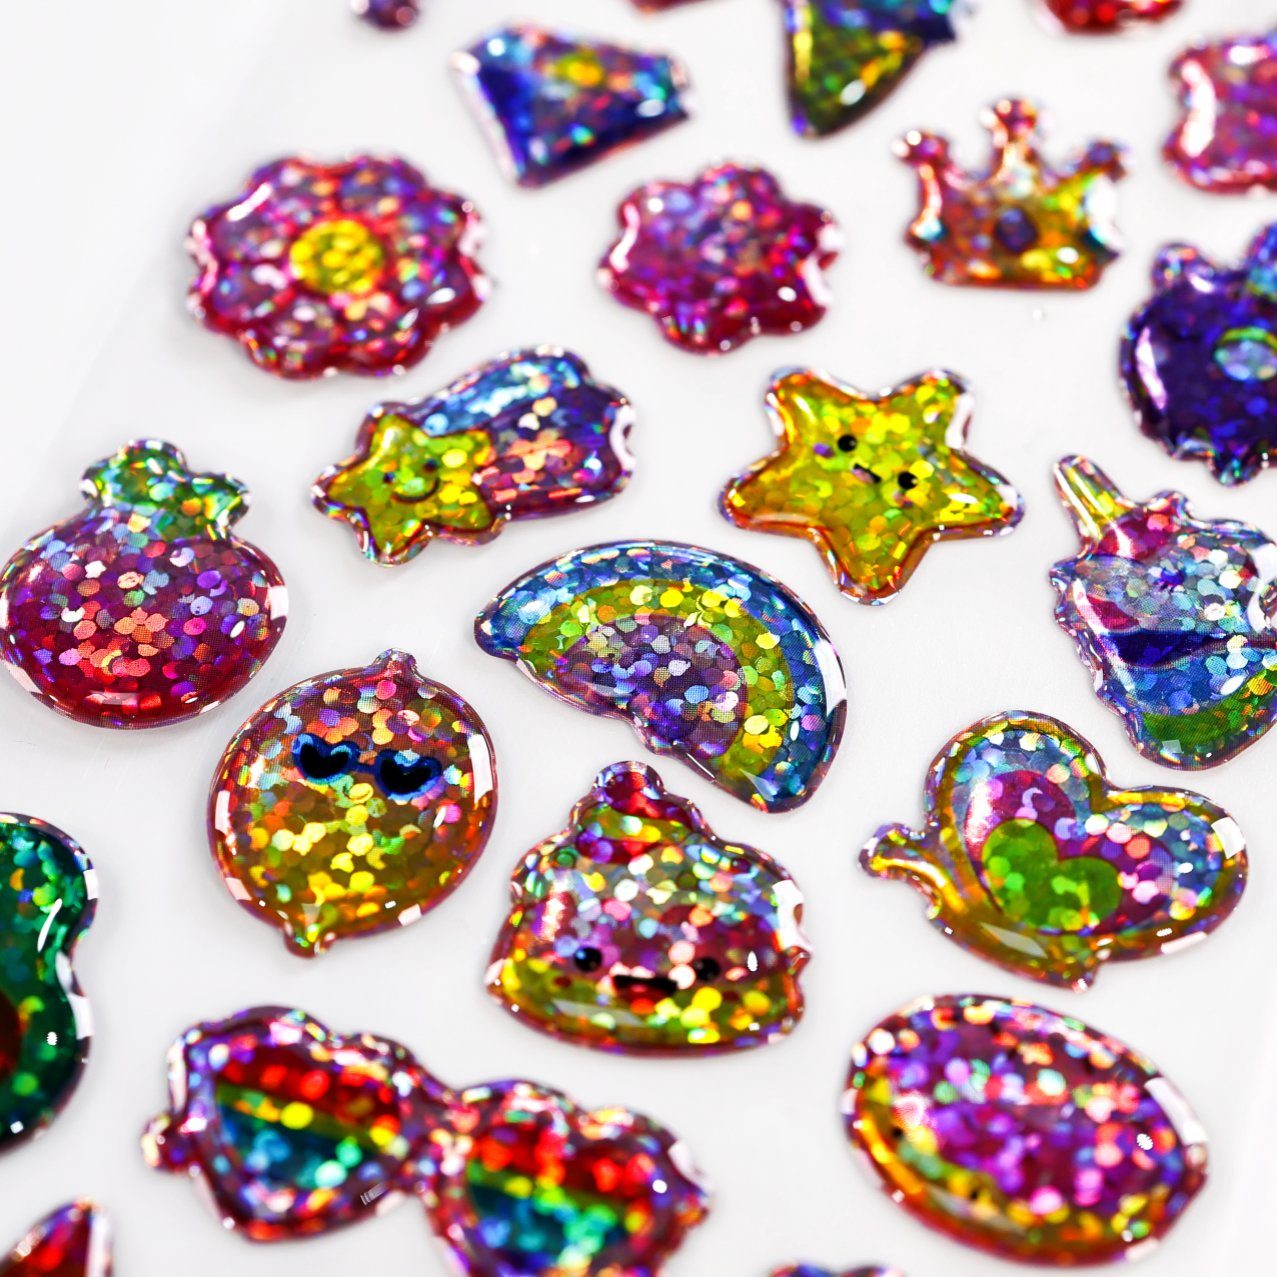
How a dome sticker gets made — step by step
- Print the artwork. We run CMYK (sometimes plus white underlay) on self-adhesive paper, PET film, or holographic glitter stock depending on the look you’re after. Resolution at 300 dpi minimum — any lower and the ink pattern shows through the resin dome, which acts like a magnifying glass over the print.
- Die-cut to shape. Kiss-cut or through-cut to the final outline. Round, square, star, heart, custom contour — the die follows your vector path. Minimum size we’d recommend is roughly 10 × 10 mm; below that the resin meniscus gets unstable and the dome flattens into a blob instead of forming a clean cap.
- Fixture onto a flat jig. Cut pieces sit on a metal or acrylic fixture that holds them in position. This step matters because the resin will flow to the edges and stop at the die-cut line — if the piece shifts, the dome goes off-center or bleeds past the edge.
- Clean room staging. Dust is the enemy here. A single hair or dust speck trapped under the resin becomes a permanent visible defect — you can’t sand it out or rework it. We run this stage in a controlled area with filtered air, not out on the open shop floor next to the printing presses.
- Dispense resin. Two-part polyurethane (for most jobs) or epoxy (budget tier) is mixed at a fixed ratio — usually 1:1 by weight or volume depending on the chemistry — then dosed onto each piece by a dispensing head. Manual for small batches, semi-auto for anything over a few thousand pieces. The amount controls dome height: too little and it looks like a thick varnish with no real dome effect; too much and it slumps over the edge before it cures.
- Self-level and cure. The resin flows outward under its own surface tension and forms the dome shape automatically — no mold required. Cure time depends on the chemistry: room-temperature PU takes 18–24 hours; we push volume jobs through a low-heat tunnel oven at 50–60°C to lock it in under 45 minutes. Epoxy cures faster but, again, yellows.
- QC and pack loose. We inspect each piece under bright light for bubbles, dust inclusions, edge bleed, and dome symmetry. Anything with a visible defect gets scrapped — once the resin is cured there’s no repair option. Finished stickers go out loose in bags or on sheets, never on rolls. The raised dome physically cannot wind around a core without cracking or deforming adjacent pieces.
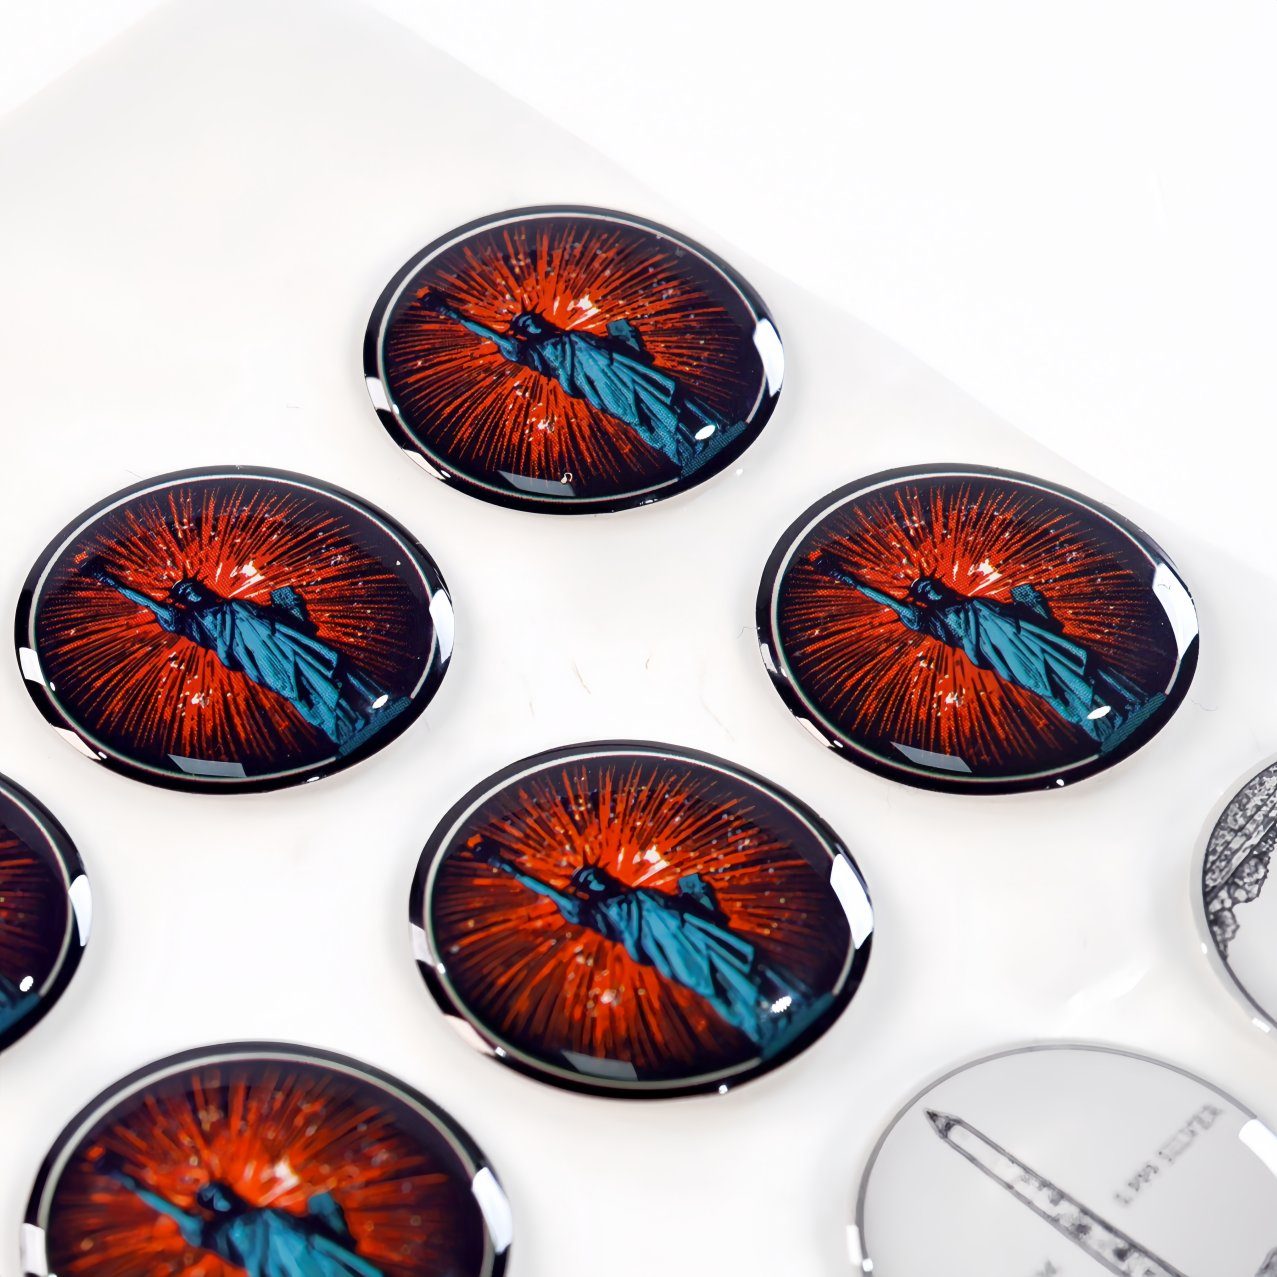
Dome stickers vs Spot UV: they look similar but they are not the same thing
This is the confusion we run into most often. Someone sees a label with a glossy raised area and assumes it’s “basically dome.” It’s not. Here’s the actual breakdown:
| Epoxy / PU Dome Sticker | Screen-Printed Spot UV | |
|---|---|---|
| What it is | A physical resin cap poured over the entire printed piece, 0.8–2 mm thick | A thin layer of clear UV-cured ink screen-printed onto selected areas of a label, roughly 10–30 microns |
| Thickness | You can feel it with your eyes closed — distinct raised bump | Barely perceptible to touch; visible mainly as a gloss contrast against matte areas |
| Purpose | Visual novelty, tactile fun, DIY creativity, decorative appeal | Adds depth hierarchy to a label design; protects printed areas from abrasion; makes the whole label read as higher-end |
| Application | Standalone decorative item — laptop sticker, craft embellishment, promo giveaway, phone charm | A finish applied to an existing product label (wine, cosmetic, supplement) alongside other processes like hot foil or embossing |
| Roll-compatible? | No — ships loose or sheet-packed only | Yes — it’s printed directly on the label, which winds on a roll like any other finished label |
| Unit cost | ~$0.01–0.02/pcs (very affordable) | Adds roughly $0.003–0.008 per label depending on coverage area |
| Best use case | DIY projects, craft kits, stationery, event swag, brand merchandise, kids’ products | Premium product labels where you want selective gloss contrast without adding a physical lump — think wine bottle labels, cosmetic tubes, supplement bottles |
The practical way to think about it: spot UV is a label finishing technique — it’s something you do TO a product label to make it look sharper and protect certain areas. Doming is a product category of its own — the dome IS the product. You don’t “add doming” to a wine label; you make dome stickers that people stick onto their laptops, notebooks, phone cases, or hand out at trade shows.
If your goal is a premium-looking product label with selective gloss and tactile refinement, spot UV combined with matte lamination and maybe hot foil stamping is the direction you want — that’s the combination that makes a supplement bottle or perfume tube read “expensive” on a shelf. If you want fun, eye-catching individual stickers for branding swag, craft retail, or promotional giveaways, that’s dome territory. They serve completely different buyers and different moments in the supply chain.
“We had a client order both from us in the same month — spot UV on their supplement bottle labels and 10,000 custom dome stickers for a trade show booth. They handed out the domes at the show and people were sticking them on laptops and badges all week. Completely different purpose, same supplier. That’s normal.”
Common quality issues and how we catch them
The dome process is forgiving in some ways (no mold needed, self-leveling) but unforgiving in others. Once that resin cures, whatever is inside stays inside forever.
- Bubbles — caused by bad mix ratio, dispensing too fast, or contaminant in the resin. Shows up immediately as a tiny lens-shaped void under the surface. Prevention: degas the mixed resin before dispensing, control the drop rate.
- Dust and hair inclusions — the #1 reject reason. A single fiber trapped under the dome is permanent and obvious because the resin magnifies everything beneath it. Prevention: clean-room staging, sticky-mat entry, minimal handling between cut and dispense.
- Edge bleed — resin flows past the die-cut line onto the backing paper. Makes the sticker look messy and can cause adjacent pieces in a sheet to fuse together. Prevention: control dispense volume, verify fixture alignment, check viscosity before each batch.
- Uneven dome / off-center — piece shifted on the fixture, or uneven dispense position. One side looks fat, the other side looks thin. Pure workmanship issue — caught at QC, scrapped.
- Yellowing — only happens with cheap epoxy resin left in sunlight. Our standard PU resin doesn’t do this. If a supplier quotes you “epoxy dome” at half the market rate, ask specifically about outdoor yellowing test results.
- Cracking (hard dome only) — applied to a curved surface with too small a radius, or the substrate flexes and the rigid resin can’t bend with it. Solution: switch to soft dome for curved applications, or limit hard dome to flat surfaces only.
What dome stickers are good for (and what they’re not)
Strong fits
Promotional giveaways and trade show swag — people keep dome stickers on their devices. Craft and DIY kit components — scrapbooking, journal decoration, phone case customization. Kids’ products and novelty retail — the squishy texture sells itself. Brand merchandise — logo domes on notebooks, lanyards, badge holders. Event memorabilia — weddings, festivals, product launches with custom shapes.
Not a good fit
Primary product labeling for wine, spirits, cosmetics, food or supplements — the dome adds bulk, can’t roll, doesn’t survive automated labeling equipment, and reads as “promotional item” rather than “premium packaging.” For those applications, look at hot foil stamping, embossing and debossing, or matte lamination with spot UV instead. Those are actual label finishes designed for high-speed production lines and shelf presentation.
If you’ve got artwork ready — logos, illustrations, character designs, typographic lockups — send it over. We’ll dome a sample sheet so you can see the exact thickness, clarity, and hand-feel before committing to quantity. Typical turnaround from approved artwork to shipped goods is 5–7 working days for orders under 20,000 pieces.